Rose’s mom arranged some tuning jobs while we were in Ontario over Christmas- here are some shots of the pianos that were worked on (including three old Bell uprights with the “Illimitable Repeating Action.”)
Uncategorized
Cello Repair: Saving the original neck and button


The Cello, back in performance ready condition after repair

The shop assistant
The latest restoration project: a cello that came into the shop in two pieces. The neck had separated from the instrument, taking the button with it, and it had a crack in the neck block… but it was still worth repairing. Now it’s back in playing order!
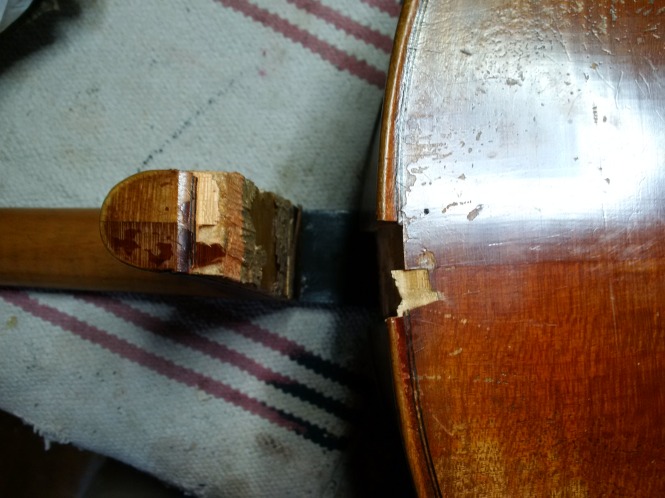
My first inspection of the break,

Seam separation
After the assessing the repair I began further disassembling the cello using warm water and a couple of sharp seam separation knives to remove the back plate from the rib structure. The instrument had some previously repaired cracks on the side which were already thoroughly cleated. The back came off with gentle persuasion and without any further damage to itself or the rib structure.
Unfortunately there were some original pieces of wood missing by the time the cello arrived- luckily I have a good supply of various types of maple so I was able to make something that matched and looked consistent with the rest of the cello. 
A view of the inside of the cello: I spot glued pieces of scrap wood to the blocks so that there would be no distortion to the rib structure while repairs were done to the back and neck of the instrument. I did some minor cleating and touch up to the rib structure while I had the instrument open, and I inspected previous repairs and any areas that might have become distorted or weakened over time.
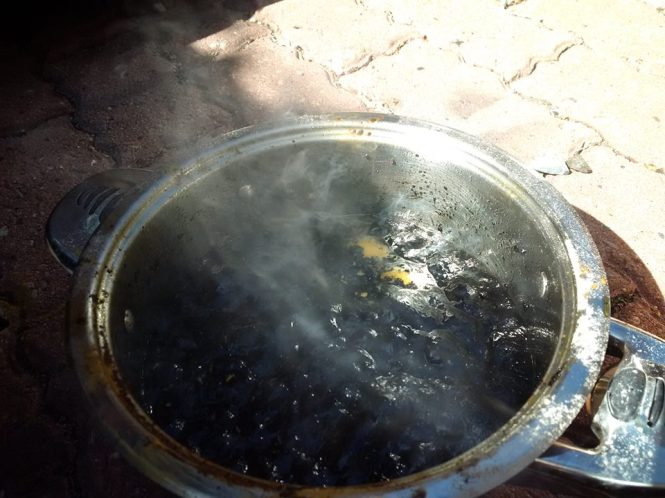
With the back removed I made a partial cast from plaster, which worked as a clamp caul and support surface for the button as it was reattached to the back. 


A barrier of plexiglas, aluminum, and clay keep the plaster contained.
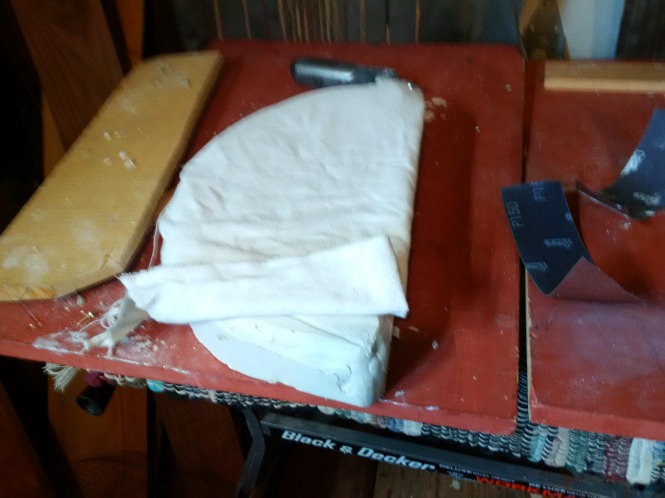
The finished casting
Beginning of the end
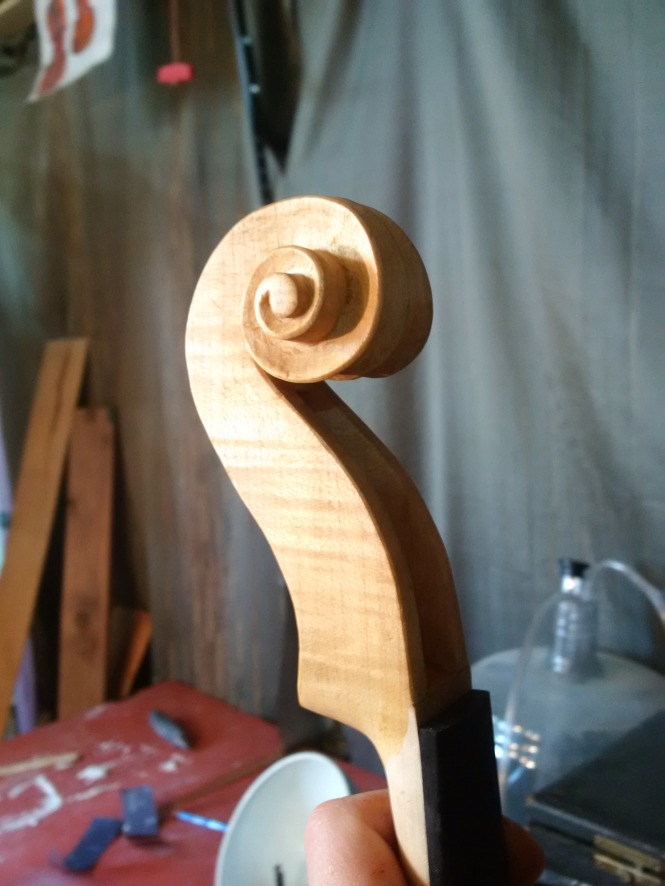
The surface has been prepped on the latest violin. The ground has been applied and varnish is made and ready for application. 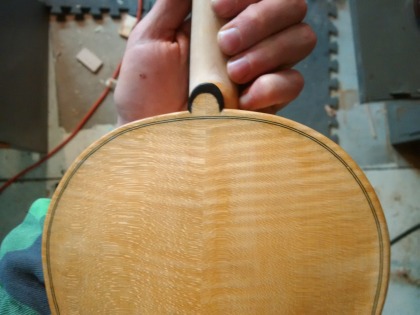
The form I used for this instrument was the same as the previous commission. (I still get to see that instrument and its owner regularly.) There are some variations in the design and obviously wood selection, and my imagination is runs wild trying to discern what the sound differences will be.
The ground has little pigment in it, mostly a bright amber and slight brown colouring that I aim to have shine through to the final layers of the varnish, adding depth to the appearance. It is sealed with a diluted spirit varnish and will be finished with an oil based that I made myself
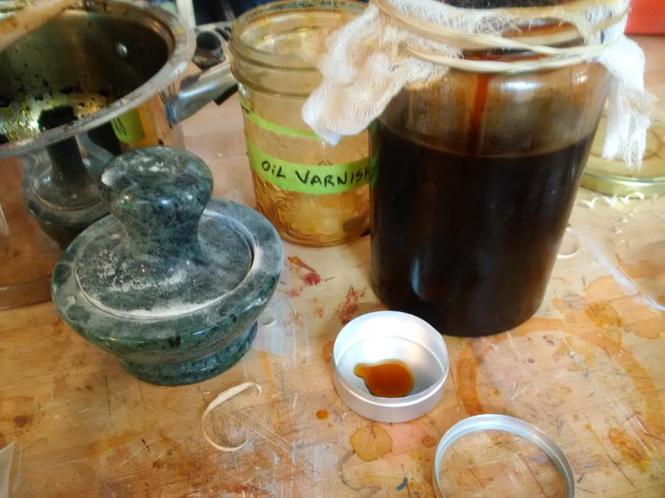
When I first started out it was easy to overlook the importance of a good varnish, not just for general appearance but also the achievement of tonal objectives for the instrument. Most of my varnish is made from raw materials and refined to an end product which cannot be commercially purchased.